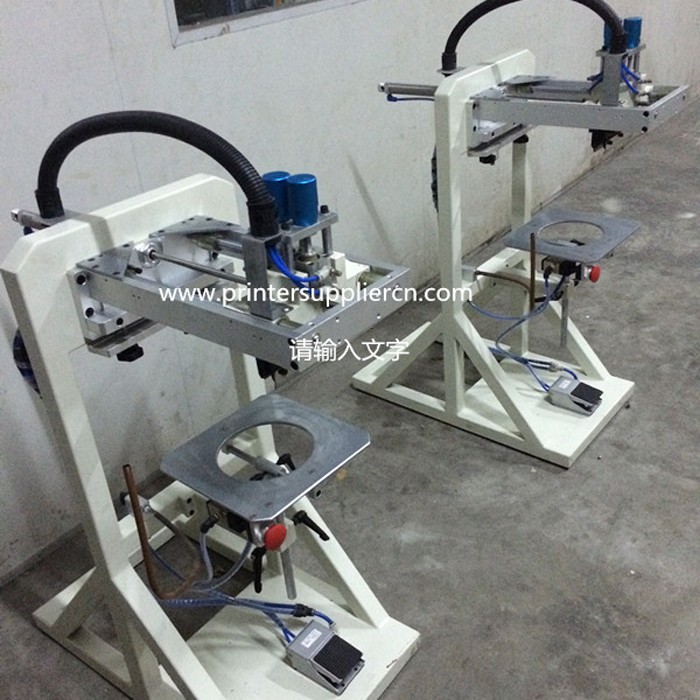
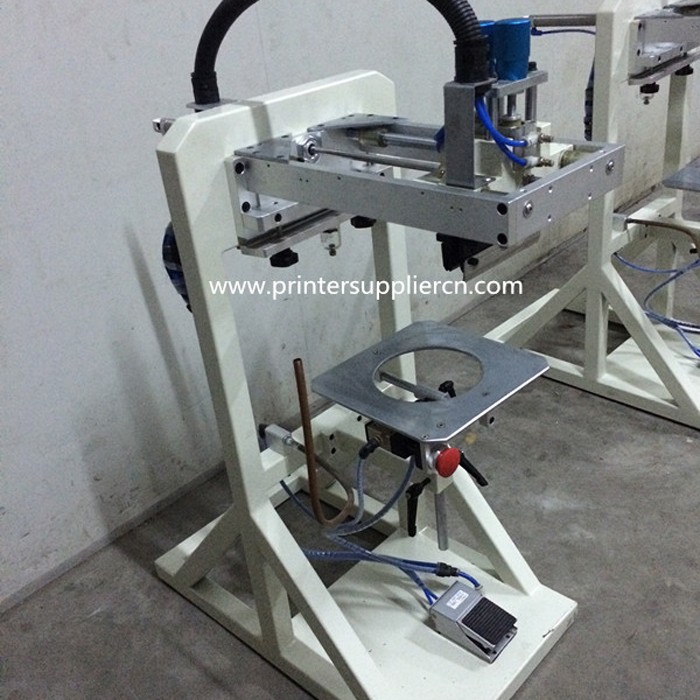
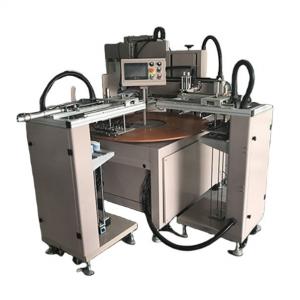
Balloon Screen Printing Machine
Application
Manual printing on Balloon, air balloon,latex ballloon etc
Feature
This balloon screen printer adopts Alloy Aluminum material which is lighter and more stable,the screw on the machine which hardness is 12.9 grade more durable and the parts are processed by CNC or worker. Lower eletric consumption, high effectivity, and easy operation ,widely applied in balloon printing for advertising, decorations etc
Prepare Your Design: First, decide on what you want to print. Create or choose a design, and then make a stencil or "screen." This is a mesh screen with your design cut or burned out. You can get these made professionally or DIY if you have the equipment.
Set Up Your Machine: Assemble your manual screen printer according to the instructions. Attach your prepared screen to the printing head.
Position Your Item: Place the item you want to print on (e.g., a balloon) onto the holder or clamp. Make sure it's centered and secure.
Add Ink: Pour a small amount of ink onto the ink tray or directly onto the top of the screen.
Align the Design: If your machine has alignment markers, use them to make sure your design will be printed where you want it.
Apply Ink: Hold the squeegee in both hands and press down firmly at the top of the screen, then pull it towards you in a smooth, even stroke. This pushes the ink through the open areas of the stencil onto your item.
Lift the Screen: Carefully lift the screen straight up to reveal your printed design.
Clean Up: Immediately after printing, use a scraper or spatula to remove excess ink from the screen and return it to the ink tray. Clean the screen with water or appropriate solvent to remove any remaining ink, ready for the next print or storage.
Dry Your Item: Let the ink dry on your printed item according to the ink manufacturer's instructions. For balloons, you may need to leave them untouched for a while to avoid smudging.
Repeat: If you're printing multiple items, simply replace the first item with a new one and repeat the process from step 3.


 FA Printing Machine Manufacturer Limited


